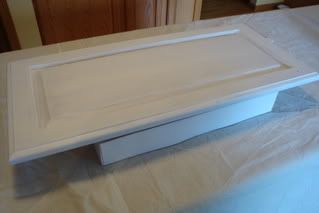
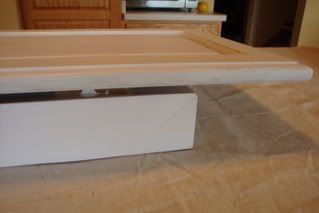
I found that raising the door on a shirtbox plus a wooden platform make of 2x2 inch squares of MDF allows for the edge of the doors to be painted most easily.
So, the technique I finally decided on is:
1. Wash with a mild degreaser, plus a final wash with ivory dishsoap, rinse well, and dry well.
2. Apply Liquid Sander
3. First coat of primer when the liquid sand is dry. Apply with a 4" foam roller or a Wooster Pro-Doo Z (I prefr these as they hold a bit more paint), back brush with a corona cortex or Excalibur (my favorite!) brush at a wide angle. Let dry 4 hours. Reprime. Dry 8 hours. Lightly sand/buff with 400 grit wet/dry sandpaper. Vacuum, and use a damp cloth as a tack cloth, and repeat a few times to remove ALL DUST!
4. Apply first coat of Pro Classic with same rollers (I will use a tiny one for the outside panel to avoid drips), back brush, let dry 8 hours. Lightly sand with 240 grit in a circular pattern, vacuum, tack cloth. Then apply final coat.
5. Mix 1 part paint (I forgot the color) with 4 parts latex glaze. Apply with a fine artists brush in the crevices of the door (or see our newest technique a few posts up). Wipe with paper towel to desired density.
6. Let the doors cure for 72 hours before re-hanging.
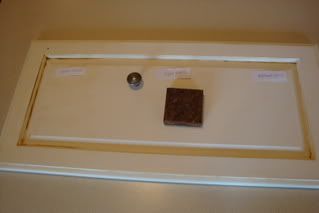
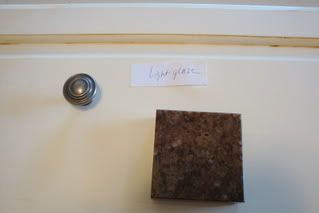
Here are pictures of my primer coat, my box/MDF setup, and the glaze choices on a finished door. Countertop sample and hardware are on the door to get a better idea of how it will all look together.


No comments:
Post a Comment